Saturday, March 12, 2011
How To Draw Spongebob Step By Step
Do you like this story?
Step 1
First, sketch out the outline of Spongebob Squarepants' exterior shape. Do not worry about mistakes because you can delete these later. Later, you'll be using a pen or marker lines Utin the "right". 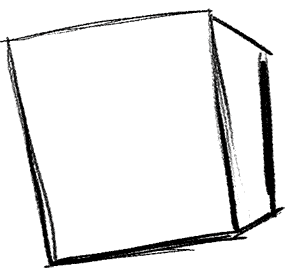
Step 2
Now, you should make a cross in the center of SpongeBob "frame.
Step 3
Draw two circles in the center (horizontally and vertically) of the upper part above the "cross" that you drew. Put an eye on each side of the vertical line. 
Step 4
Draw the nose right above the center line. Draw the cheeks under the eyes. 
Step 5
Draw the outline of Spongebob's mouth. The mouth is a "U" Spongebob background map and next to each cheek. 
Step 6
Draw Spongebob's teeth and tongue.
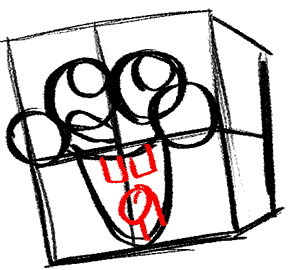
Step 7
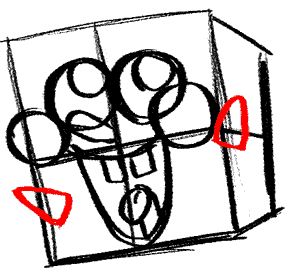
Step 8
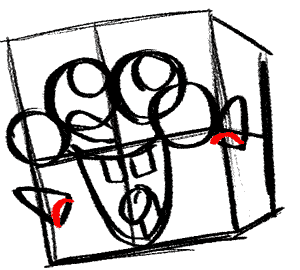
Step 9
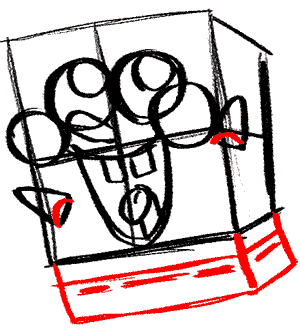
Step 10
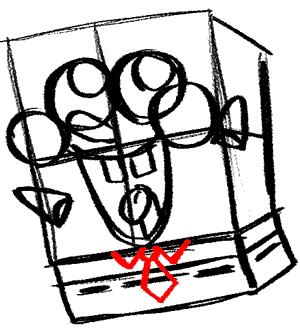
Step 11
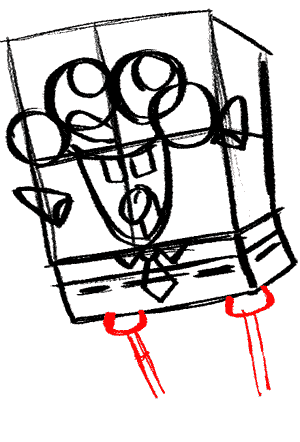
Step 12
Spongebob’s shoes look tricky, but they aren’t. Notice how I broke each shoe down to simple shapes for you. Draw a circle, 2 ovals, and a rectangle to make his shoes.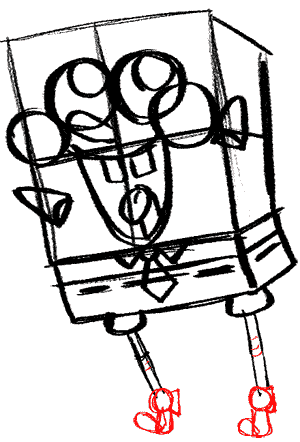
Step 13
Draw all of the circles, to make Spongebob spongey. Draw the smaller circles inside Spongebob’s eyes and also draw his eyelashes.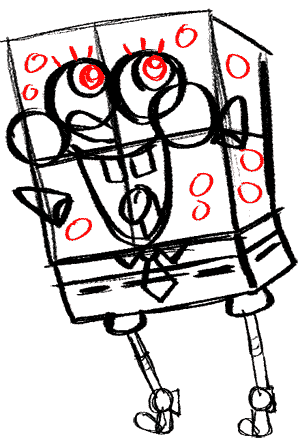
Step 14
Draw Spongebob’s arms and hands. Just draw a circle on the right-side of Spongebob’s shirt and then attatch it with 2 very thin arms.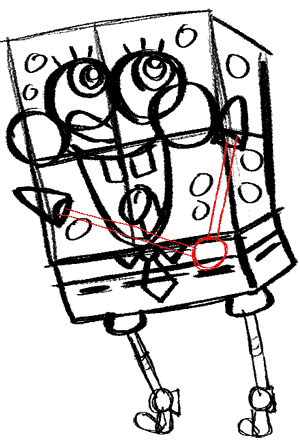
Step 15
Draw Spongebob’s fingers…which are just oval shapes.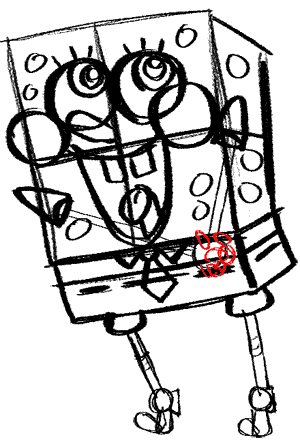
Step 16
Now outline the ‘right’ lines with marker or pen and erase the remaining lines to look like this picture.
Step 17
Use your watercolors, markers, colored pencils, crayons, or chalk to color Spongebob Squarepants. I used watercolors.

This post was written by: beemagnet77
BeeMagnet is a professional graphic designer, web designer and business man with really strong passion that specializes in marketing strategy. Usually hangs out in Twitter has recently launched a blog dedicated to home design inspiration for designers, bride, photographers and artists called HomeBase


0 Responses to “How To Draw Spongebob Step By Step”
Post a Comment